The Finished Basket
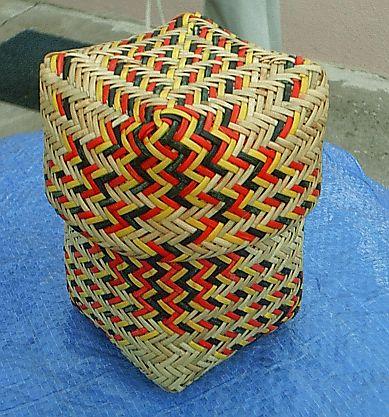
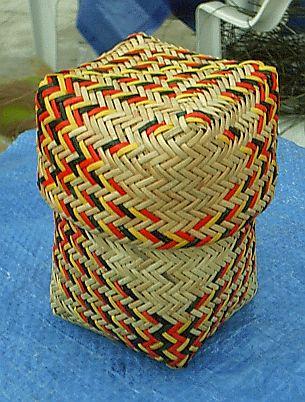
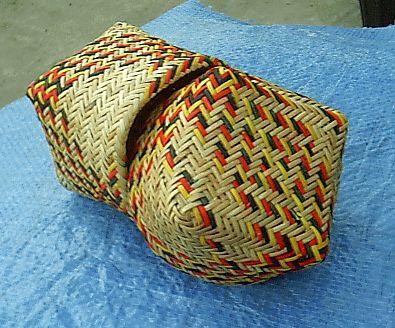


The finished basket from several angles.
For more information on Cherokee Basket Weaving or Cherokee Arts visit Cherokee Artists Association web site.
The finished basket from several angles.
For more information on Cherokee Basket Weaving or Cherokee Arts visit Cherokee Artists Association web site.
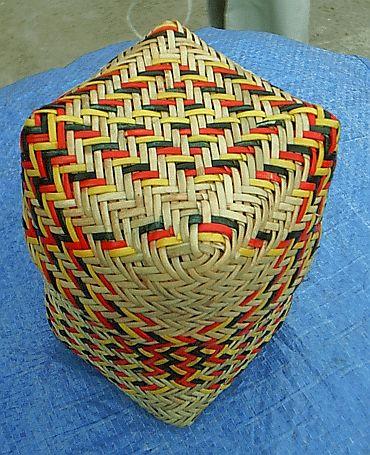
This is the finished top, sitting on the bottom. Kind of an interesting view, you can't tell where the top ends and the bottom begins.
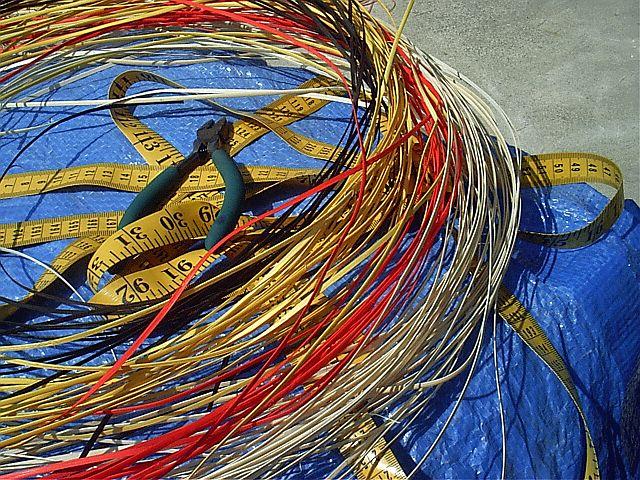
You now should have the following cut spokes:
I sometimes cut a few extra of each color since you never know when you may have a damaged or split spoke when you weave the bottom. Each of my spokes are 50 inches in length.
Now you are ready to weave the bottom. You will need your spray bottle, tape measure, spoke weight and the graph posted earlier in these instructions.
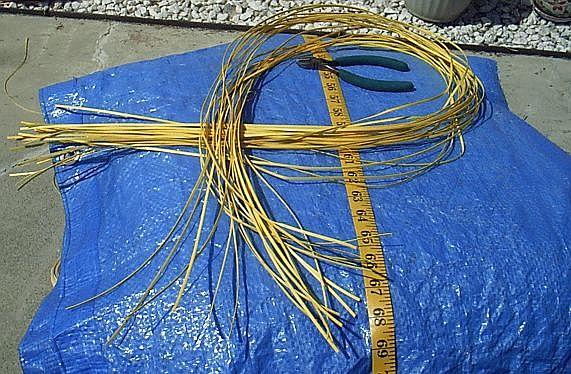
I wet the cane coil again for easier handling, then you pull one strand of cane at a time from the coil. You then measure whatever length you want the cane to be and cut it. I then use the cut piece as the gage for the cutting of the rest of the spokes.
I am using a spoke length of 50 inches, only because I'm going to make a taller basket. Depending on the size of the basket you want you will cut the cane spokes to that length. With this size of cane, you could also cut the spokes 40" in length.
The wider the cane the longer your spokes will need to be as well.
Needed spokes:
1. 36 natural cane spokes
2. 12 yellow spokes
3. 12 walnut spokes (black or dark brown)
4. 12 blood root (orange-red) spokes
Then you need to store the rest of your cane coils dyed and natural in a cool dry place to prevent molding or mildew of the cane.
The woven bottom will determine the size of the basket depending on how many spokes you use in the bottom and the spoke lengths will determine how high the walls of the basket can be.

This is what the Hamburg (bleached) cane looks like after drying. These will be the three colors I'll use in this basket. I'm going to use all three colors because I think it will make the basket weave more pronounced, so you will see how the weaving looks as you weave through the basket.
The next step in weaving the basket is cutting the cane into the desired length. You will need your reed cutter or scissors and the tape measure for this next step.
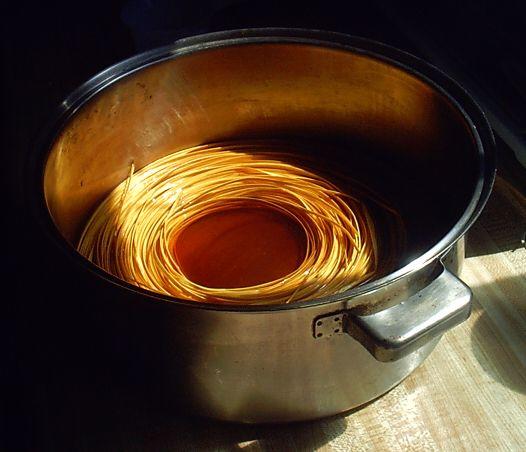
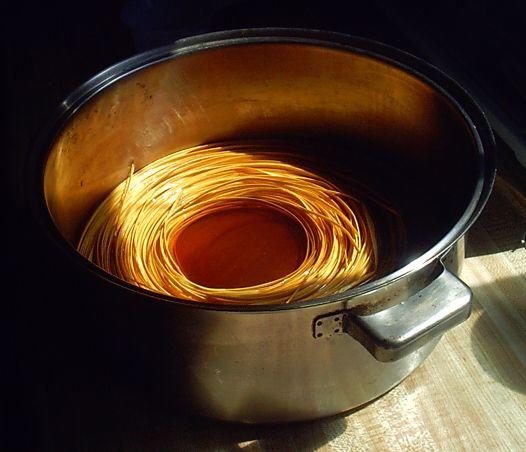
The lighting in my kitchen isn't very good and the flash didn't seem to think it was dark enough to go off...but this is after putting the cane coil in the dye and I usually turn it a few times to make sure it is dyed evenly as well as making sure there are no areas so tight the dye doesn't reach it. This is the yellow dye. I also did a red-orange and a walnut. The walnut is dark because I added too much black in it.
I have them now outside drying til tomorrow and will cut the cane into desired lengths for weaving.
A word of caution when working with both the reed coils and cane coils. They tangle very easily and will become a tangled ball of cane. I have found that by wetting the cane before cutting the ties, that the cane is easier to handle. After wetting, I cut the ties and put it directly into the dye.
I usually die a hank of each color, however, once we get into the weaving you will see exactly how much cane to use. So in some cases, you may want to cut the cane first and then dye the number of spokes you need for each color. I weave a lot, so I usually use all my cane anyway, however, if you say want to try different colors or dye brands, then coloring just the number of spokes you'll use will work as well.
When you dye small amounts of cane, a 1 lb zip lock freezer bag will work as well. That's the zip locks with the zipper type closing not just the pinch type closing. When you use small amounts of cane in the beginning, you can then experiment with brands and colors.
For the Jacquard, I'd say 1/2 or 1/4 batch of dye would work for small numbers of spokes. If you're trying different brands of dye, they usually include instructions on how to use them.

These instructions are for the Hamburg Cane, the natural cane will not take color because of the hard exterior shell.
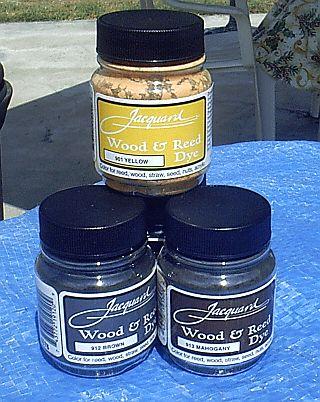
I have recently been using Jacquard dyes - they are expensive but give you some very brilliant colors. The dye process with these is also very simple. Also there are other reed dyes on the market that can be used that are less expensive and some people use Rit dye as well. The Jacquard dyes are intense and take almost immediately.
The Jacquard dye colors I use are:
Actually there is no limit to colors, if the color could be reproduced from natural vegetation it was probably used by Cherokee Basketweavers.
Recipe for dye:
The tsp of dye is the total amount so you may want to experiment with amounts when combining colors. If using black, it takes a very small amount, very very small amount to turn the color completely black, so use care when mixing in this color. I put the vinegar and hot water in the pot first, then add the dye.
Dissolve the dye in a small amount of hot water before adding to the dye pot. I then place the cane coil into the dye. I untie the coil before adding it to the dye and you'll need to move it around a bit so that the dye covers the entire area of the cane in an even manner. If the cane is coiled too tightly it will dye unevenly, although that may not be an unpleasant result for a basket.